WEDDING GUIDE
Addressing, Assembly, & Mailing
Your invitations have been printed, and they’re absolutely beautiful! What’s next? Here’s how to get them prepped and ready for mailing to your guests:
GUEST ADDRESSING
Your guests addresses must be printed on the outer envelopes prior to assembling your invites for mailing.
We refer our clients to trusted Brooklyn-based addressing services. For your convenience, we can deliver your invitations directly to them. They’re professional, efficient, and a pleasure to work with — you simply send your guest list, and they’ll handle the rest.
For extra convenience, they can also assemble, stamp, and mail your invitations — for an additional fee.
Typical Pricing: Address Printing (Main Envelope) – $0.75 / Hand Assembly & Mailing – $1.00
Prefer to use someone local? Many communities have businesses that specialize in this very service.
Planning to assemble yourself? Read on for our top tips.
STAMPS
How many stamps do I need?
Review your guest list and count the number of addresses in each region: USA, Canada, and International (e.g., Israel, Belgium, U.K., Australia, etc.). Record these totals for easy reference when buying postage.
Important: If you are inviting any guests for the "Chuppah Only," their invitations will not include a reply card or envelope. Be sure to exclude these names from your total when calculating the number of "Reply Envelope" stamps needed.
Which stamps do I need?
Outer Envelope Stamp:
Classic Invitations:
US addresses: One “Forever” Stamp - $0.78
Luxury Invitations:
US addresses: One “Two ounce” Stamp- $1.07
International - Price varies per country.
US addresses: One "Forever” Stamp- $0.78
* International / Canadian Addresses do not get a “reply” stamp. Those guests will affix the appropriate postage to mail back to you.
Where should I buy the stamps?
Your local post office will most likely not have the high quantity of “pretty” stamps you’ll need, order them online at USPS.com at least a week before you plan to start assembling.
ASSEMBLY GUIDE
Before getting started, make sure:
Glue Sticks: We recommend sealing all outer envelopes using a high-quality glue stick, as standard carft glue may become brittle in colder temperatures, potentially causing the envelopes to open during postal transit.
Our top choice is the Scotch brand "permanent" glue stick, which you can purchase on Amazon here.
Ready To Assemble?
- Invite some friends or family to lend a hand! Keep in mind, assembly can be time-consuming—plan for about 1 hour to assemble every 100 invitations.
- Set up an assembly line: Arrange piles of all the invitation pieces in the order they’ll be stacked (left to right).
- Prepare the Reply Envelopes: Affix stamps to all of the Reply Envelopes, and stack them with flaps facing up for easy handling.
How to assemble each invitation:
1. Start with the Invitation:
- Place the main card with the English layout side facing up.
2. Stack the Reply and Aufruf Cards:
- Place the Reply Card on top of the Aufruf Card, both face up so the printed sides are visible.
- Slide this stack under the Reply Envelope flap, with the flap pointing to the left.
- If the Reply Envelopes are printed with guest names, match them to their corresponding outer envelopes before continuing.
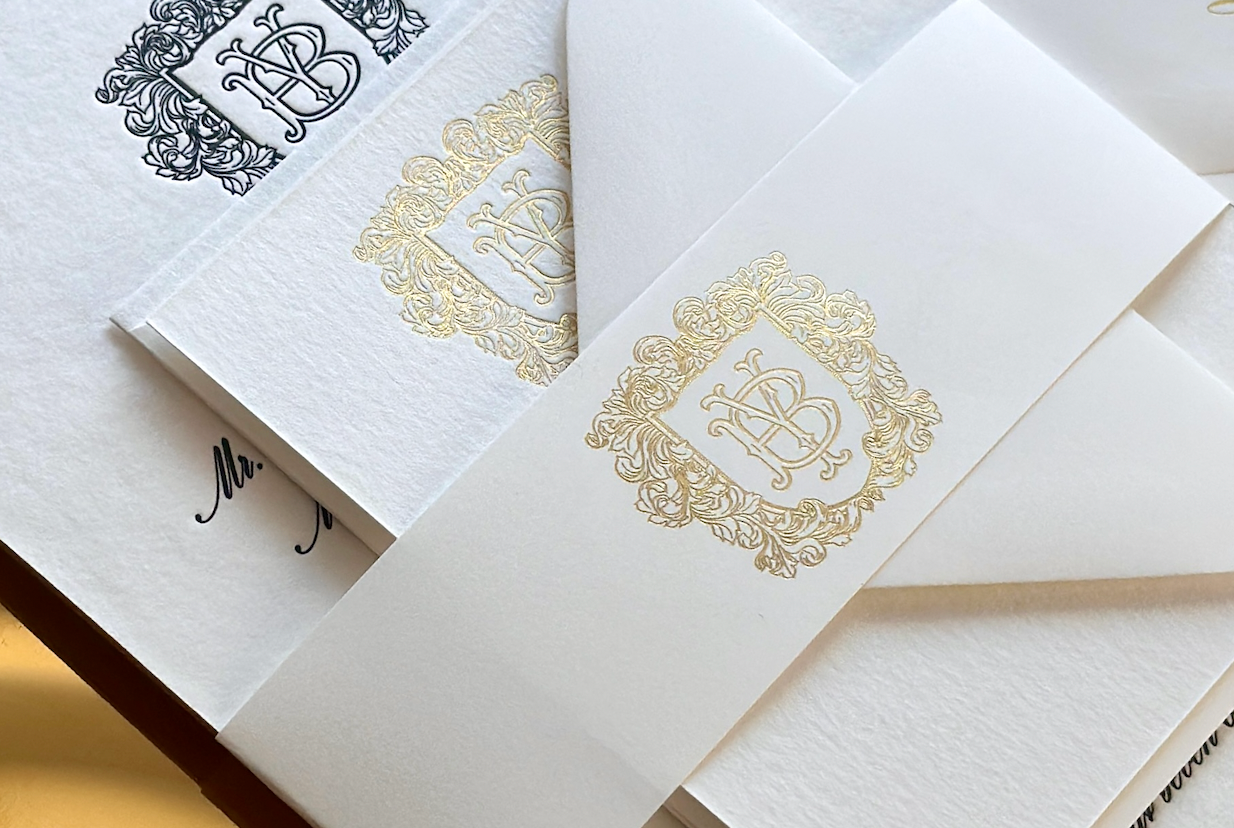
3. Wrap Band Assembly (if your invite includes one):
A) Position the Wrap Band:
- Take a wrap band and place it across the invitation, on top of the reply envelope.
- Align it at the midpoint both vertically and horizontally, ensuring the printed details are centered on the front.
B) Fold the Edges:
- Gently fold the edges of the wrap band along the sides of the main card to create clean creases.
C) Secure the Band:
- Turn the invitation over.
- Apply a glue dot to one end of the wrap band.
- Overlap the other end of the band onto the glue dot and press firmly to seal it tightly around the invitation.
4. Insert into the Outer Envelope:
- Slide the entire stack into the outer envelope with the flap open and pointing to the right.
- Ensure the invitation is oriented so guests can read it immediately upon removing it, without needing to turn the card.
5. Seal the Outer Envelope:
- Apply glue to the gummed strip on the flap, using just enough to avoid sticky or puckered envelopes.
- Press the flap down firmly and run your fingers along the edge to ensure a tight seal.
6. Place a stamp on the Outer Envelope:
- Place the stamp in the top-right corner of the envelope, about ½ inch from the top and right edges.
MAILING
When should we mail our invitations?
Mailing timelines can vary by community. In Lakewood, invitations are typically sent 3 weeks before the wedding. In Brooklyn, 4 weeks is the norm, while some communities prefer 5 weeks in advance. If you're mailing in December, be sure to allow extra time, as the USPS tends to experience delays during the holiday season.
How do we mail our invitations?
Take your invitations to your nearest post office. Your invitations are now on their way to your guests! 🎉
** Hand delivery **
Some people choose to hand-deliver some or all of their invitations to ensure they arrive in perfect condition, avoiding any potential wear and tear from postal handling. You can explore local professionals who offer hand-delivery services or enlist the help of family, or friends to deliver them personally.
If you choose to hand-deliver any invitations, there's no need to place a stamp on the outer envelope!
RESPONSE CARDS
Keep an eye on your mailbox in the coming weeks! Guests will be sending back their reply cards with RSVPs, Mazal Tov wishes, and monetary gifts for the happy couple. Save these cards as cherished mementos of this very special simcha. 💌
To keep track of wedding attendance and gifts, update your guest list spreadsheet regularly. Staying organized will ensure you know exactly who to thank with a thoughtful card.
Still curious about something?
Please reach out, we’ll be happy to help!


